How to Print Zebra Labels from Everest — Complete Guide
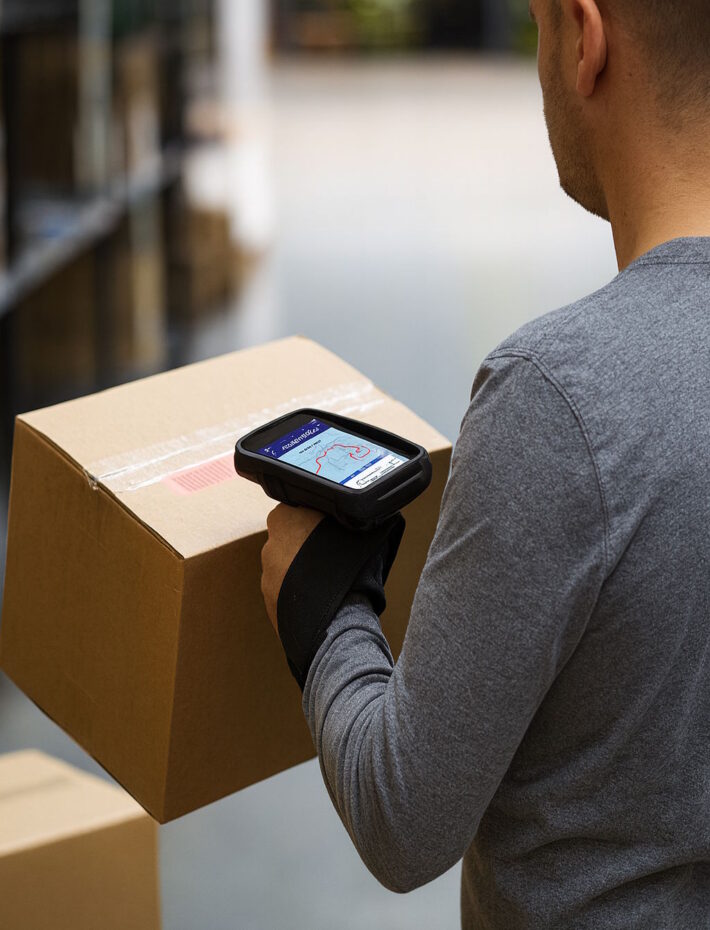
Zebra printers are the industry standard in logistics and transport environments. From Everest, you can print your labels directly to your Zebra in just a few clicks — whether the printer is connected via USB or on your local network.
This guide explains how to set up your workstation and print your labels in under 5 minutes.
Prerequisites: install Zebra Browser Print
Modern web browsers cannot communicate directly with a local printer for security reasons. Zebra provides an official lightweight tool — Zebra Browser Print — which is installed once on the workstation and acts as a bridge between your browser and the printer.
Download: https://www.zebra.com/us/en/support-downloads/software/printer-software/browser-print.html
Official installation guide (PDF): Zebra Browser Print User Guide
Installation steps (Windows)
- Download the installer from the link above
- Run the installer and follow the instructions
- Accept the license agreement
- Once installed, a Zebra icon appears in the taskbar (notification area)
- Right-click the icon → Settings to configure your default printer
Note: Zebra Browser Print works on Windows and macOS. It runs in the background at startup — you don’t need to relaunch it each time you use it.
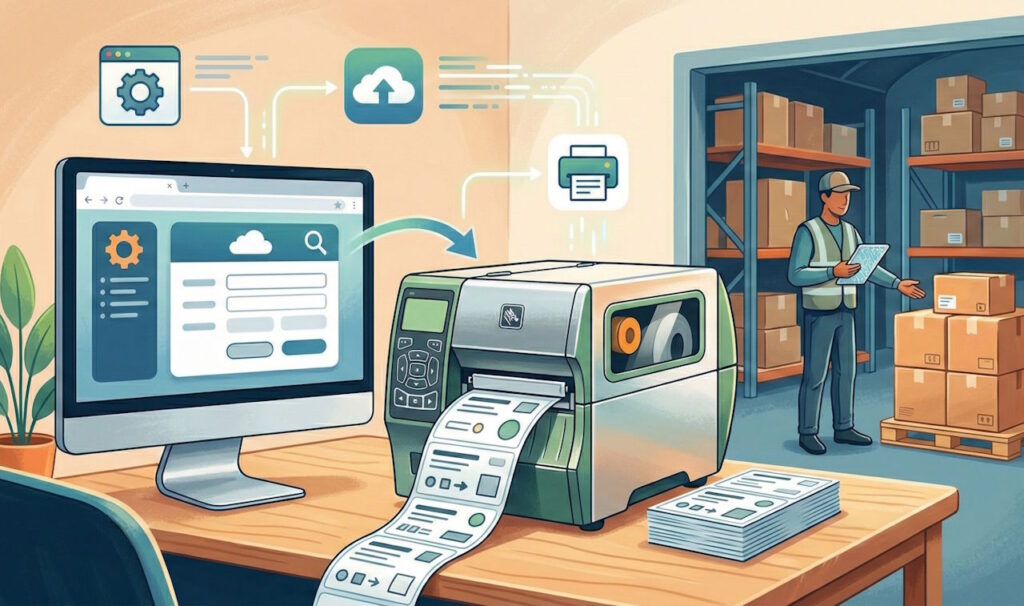
Printing a label from Everest
Once Zebra Browser Print is installed, printing from Everest takes just two clicks.
1. Open the print dialog
On any mission, click the Zebra Label or Zebra Barcode button. A window opens:
- Printer: list of Zebra printers detected on your workstation (USB and network)
- Copies: number of copies to print
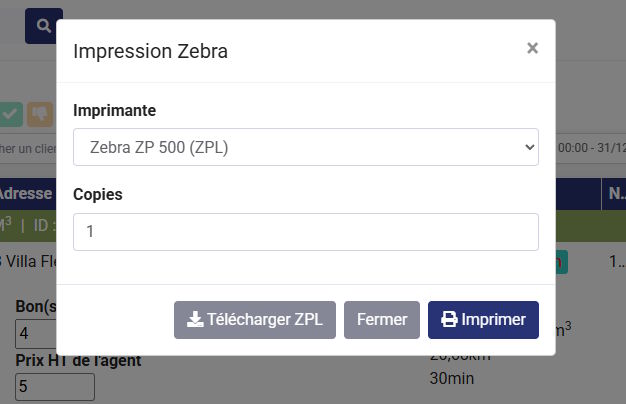
2. Start printing
Select your printer from the dropdown list, adjust the number of copies if needed, then click Print. The label is sent directly to your Zebra printer, with no intermediate print dialog.
Downloading the ZPL file
If you prefer not to install Zebra Browser Print, or if you want to archive or share the label, you can download the .zpl file by clicking Download ZPL in the same window.
The ZPL file is a text file containing the print instructions in Zebra’s native format. It can be used to:
- Send the label manually to the printer via Zebra Setup Utilities
- Integrate it into another system or workflow
- Preview it before printing
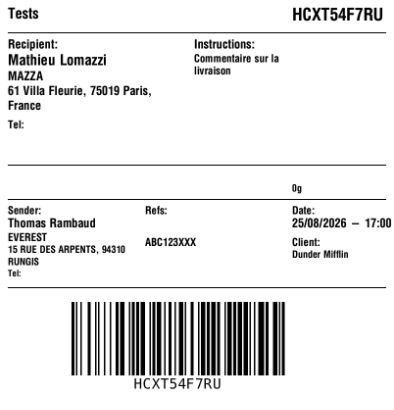
Previewing a ZPL label
To visualize the rendering of a ZPL label without a printer, use the online tool Labelary:
👉 https://labelary.com/viewer.html
Copy and paste the content of your .zpl file into the editor and Labelary displays an accurate preview of the label. Very useful for checking the content before printing or during an integration.
Troubleshooting
No printer detected in the list? Check that Zebra Browser Print is running (icon in the taskbar). If not, start it manually from Start Menu → Zebra Technologies → Zebra Browser Print.
The printer is listed but won’t print? Make sure it is configured as the default printer in Zebra Browser Print settings (right-click the icon → Settings → Default Devices).
Zebra Browser Print is not installed? In that case, use the Download ZPL button to retrieve the file and send it manually to your printer.
Summary
| Action | Prerequisites |
|---|---|
| Direct printing from Everest | Zebra Browser Print installed |
| ZPL file download | None |
| Label preview | None (via Labelary) |
Installing Zebra Browser Print is a one-time operation per workstation. Once configured, printing Zebra labels from Everest is as simple as printing a PDF.